
Showing posts with label makeover. Show all posts
Showing posts with label makeover. Show all posts
Thursday, October 4, 2012
Wednesday, July 11, 2012
Office Chair makeover
Remember this lamp and chair I bought from a yard sale last year. I did a little revamp of the lamp, and the chair was about to get a makeover as well.

I started by unassembling the back and seat cushions so I could paint the exposed wood.
Saturday, February 18, 2012
My $15 settee
I bought this cute little settee and a yard sale last October. The previous owners were using it as a dog bed. So after I did my best to clean it up, it was time for new life!
(some of these photos were taken with my phone so the color is off a bit)
I used chalk paint for the wood, and painters canvas from Lowes for the fabric.
Ready....here we go

Friday, October 21, 2011
My first attempt at Chalk Paint
With all the thrift furniture I have been acquiring in need of a makeover, I have been doing a little research for great ideas and better techniques. I came across this wonderful product called Chalk Paint.
I had never heard of it before.
So I googled it.
I found TONS of information and youtube tutorials. After hours of watching, I finally decided. . .
I had to just try it. I decided to start small. I figured I could not mess up a pumpkin!

It was so easy, and I am in love with how they look.
So I figured I would venture into furniture territory

This was a $2 chair I found at a thrift store. I have my mothers old dining room table that I am making a larger top for. My plan is to collect 8 - 10 mismatched chairs that I can paint all the same color and then pair them with the new/old dining table This will be the beginning of that project.
So this is what the chair looked like to begin with.
It was painted a very boring brown and except for some minor gouges was in pretty good shape.


And this was the chair after one coat of the Chalk Paint.
PRIMER? Nope
SANDING? None
And where I started was completely dry by the time I finished!
Then I took a fine grit sand paper and lightly (LIGHTLY) scuffed the edges to reveal the brown underneath.


After I had finished the scuffing, I brushed a light coat of Soft Wax over the top. That also dries very fast. After it had finished drying I took a soft cloth or sock and just buffed it a little. It has the most velvety feel and just a slight sheen. I will never go back to regular latex for furniture again.

VIOLA!
This is the finished chair. So beautifully modeled by my Samantha and Sabrina in our backyard.
(we do not have a lawn mower,
so they pretend the backyard is a beautiful field) =)


This may be a project that takes me forever to finish,
AHHHH. . . .one down, only 9 more to go!

Monday, August 8, 2011
{Retro redo}
Having to start over without many means has had its fair share of challenges. 

One of which has been the lighting in a house without overhead lighting! So I have scoured garage sales and Goodwill looking for anything I could transform into something usable.

When I brought home this $10 floor lamp/side table,
GT looked at me like I had lost my mind!
(bear in mind it was not black, it was an awful brown and bronze color. But I forgot to take a picture before Sabrina started painting it)
I assured him I would make it something wonderful, and he would not recognize it as the piece of garbage he was currently staring at!
So Sabrina (aka. . my sidekick) cleaned it well and then painted the base the black you now see.
GT had a great idea for the shade. He suggested we decoupage newspaper all over it.
PERFECT!
I just used regular modge podge and the sunday paper torn up.

(can you see my lack of patience? I could not wait for the glue to dry before taking pics)
Easy ~ peasy.
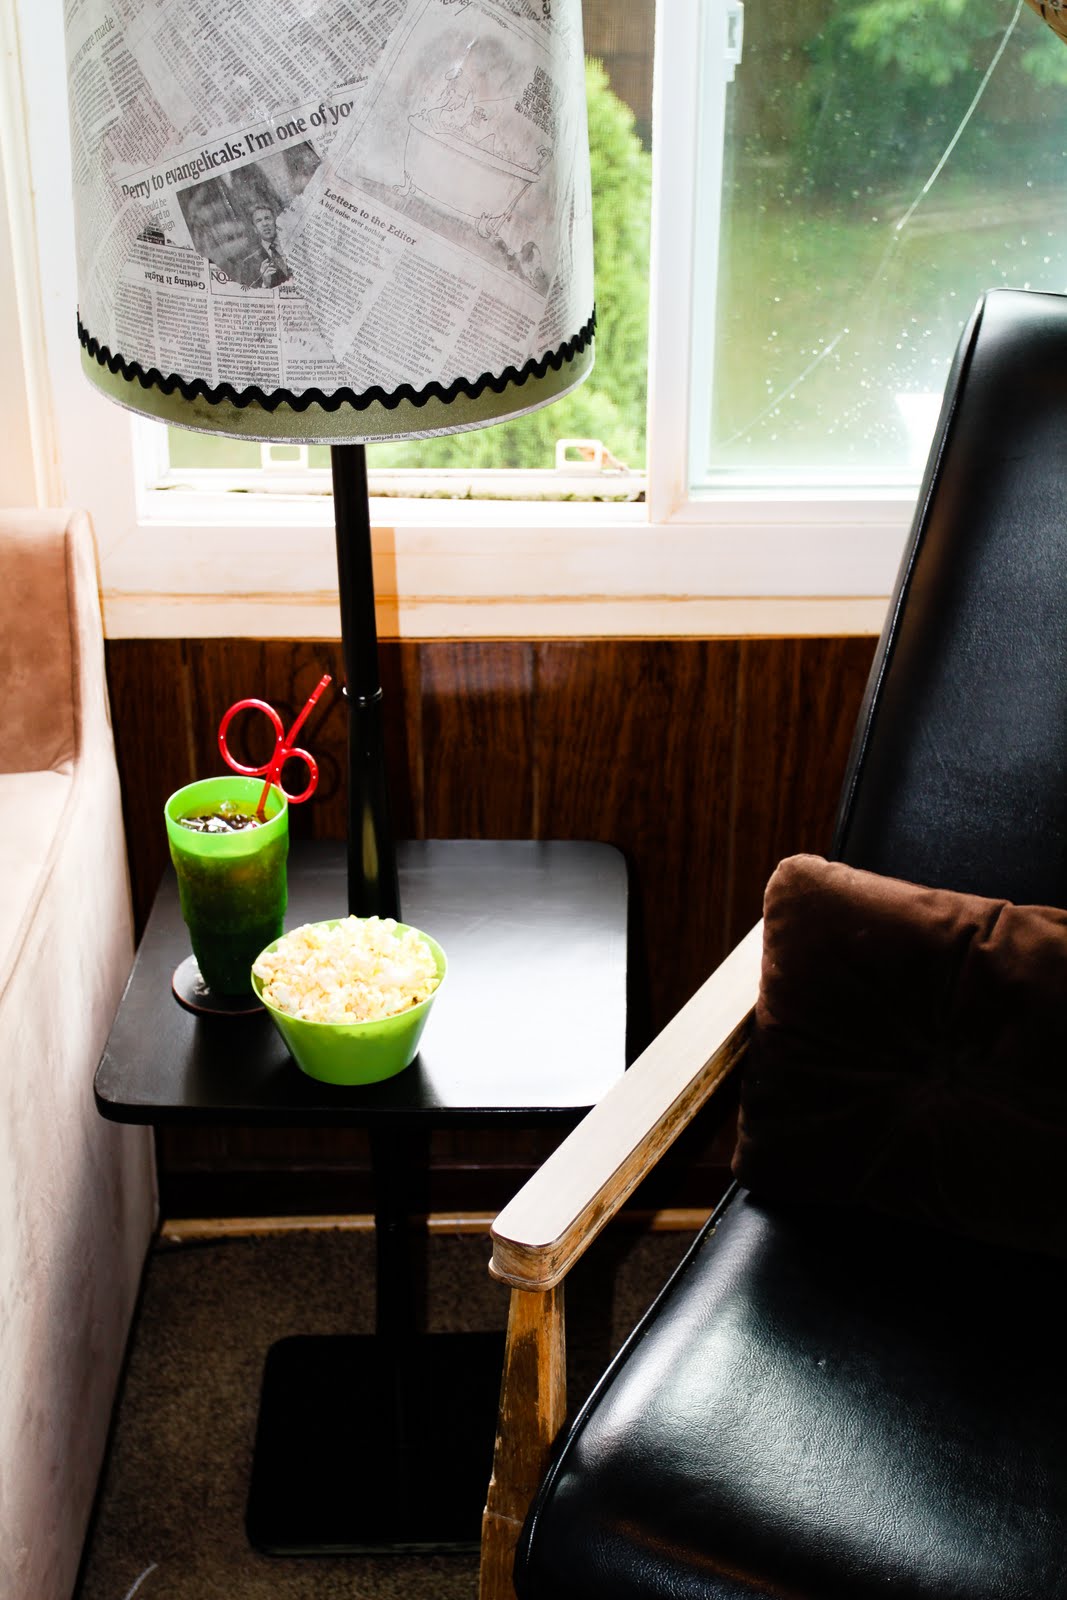
Then I glued ribbon and ric-rac around the base of the shade and the lamp base was finished off with some green ribbon around the bottom. And voila!
The black chair was also a yard sale score ~ $10
Subscribe to:
Posts (Atom)